
- This is a Multi Part Article Series
- Mounting an NVMe SSD via Launch Templates
- Step 0: Pre-Req — Choose an AWS EC2 Instance Type with NVMe SSD
- Step 1: Let’s Get Started with EC2 Launch Templates!
- Step 2: Initial Configuration and Choose Amazon Machine Image (AMI)
- Step 3: Choose Your EC2 NVMe-Enabled Graviton Instance
- Step 4: Add Launch Script To User Data
- Step 4a: Script for Mounting NVMe SSD as Temporary Storage
- Resources
Are you ready for some high-speed disk performance? In this thrilling Part 2 of our series on using EC2 NVMe SSDs in AWS EKS, I’ll show you how to turbocharge your applications with lightning-fast storage!
Last week, we explored what NVMe SSDs are and how they differ from AWS EBS Volumes (NAS vs DAS), as well as the cost implications.
Resource: What is an NVMe SSD?
In this part of the series, it’s time to take things up a notch and dive into the exhilarating world of configuring and mounting NVMe SSDs for maximum performance with EC2 Launch Templates.
This is a Multi Part Article Series
But wait, there’s more! This is just Part 2 of our series. In a future article, we’ll take it to the next level and show you how to configure Kubernetes to enable swap space on your EC2 Instances deployed with EKS. Stay tuned!
Mounting an NVMe SSD via Launch Templates
Forget the traditional way of configuring your NVMe SSDs through ssh. We’re taking it up a notch with AWS’s EC2 Launch Templates, the ultimate tool for automating the process and unlocking the full potential of your EC2 Instances.
Step 0: Pre-Req — Choose an AWS EC2 Instance Type with NVMe SSD
Before we rev up the speed, we need to make sure we’re using the right EC2 Instance Type that comes with an NVMe SSD. This is a critical step, as the launch script we’ll be injecting into our EC2 Machine will be targeting an NVMe SSD.
In order to find an EC2 instance that comes with an NVMe SSD, you can visit the list of AWS EC2 Instance Types and Offerings Page.
You’ll be looking for a machine that has NVMe SSD listed under the Instance Storage column.
For example, here’s the listing for g4dn.xlarge and g4dn.2xlarge:
| Instance | GPUs | vCPU | Memory (GiB) | GPU Memory (GiB) | Instance Storage (GB) |
| g4dn.xlarge | 1 | 4 | 16 | 16 | 1 x 125 NVMe SSD |
| g4dn.2xlarge | 1 | 8 |
32 | 16 | 1 x 225 NVMe SSD |
Resource: List of AWS EC2 Instance Types and Offerings
As you can see, the g4dn.xlarge comes with 125GB NVMe SSD and the g4dn.2xlarge comes with 225GB NVMe SSD.
These machines are relatively expensive. So when we configure our EC2 instance, I’ll use c6gd.medium which is a significantly cheaper AWS EC2 Graviton instance.
Step 1: Let’s Get Started with EC2 Launch Templates!
Get ready for an exciting adventure as we create an EC2 Launch Template!
This amazing feature allows us to launch multiple EC2 Instances with ease, without having to configure each one individually. Say goodbye to repetitive tasks and hello to the power of templates!
To begin, we’ll navigate to the EC2 > Launch templates menu.
Then, we’ll click the orange button with the text Create launch template.
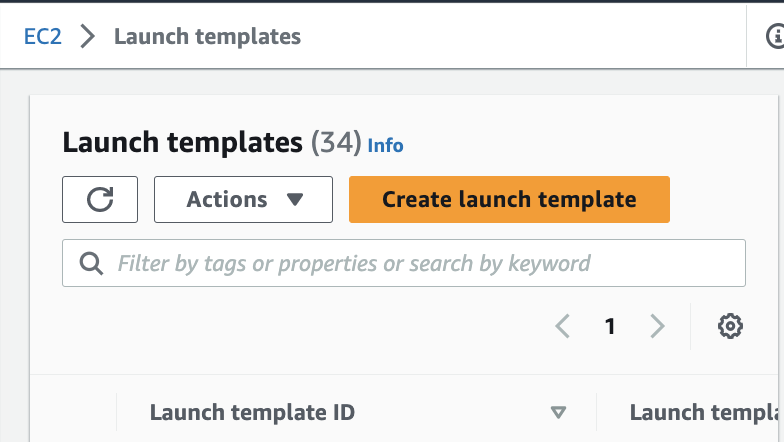
You should see a menu that resembles this image:
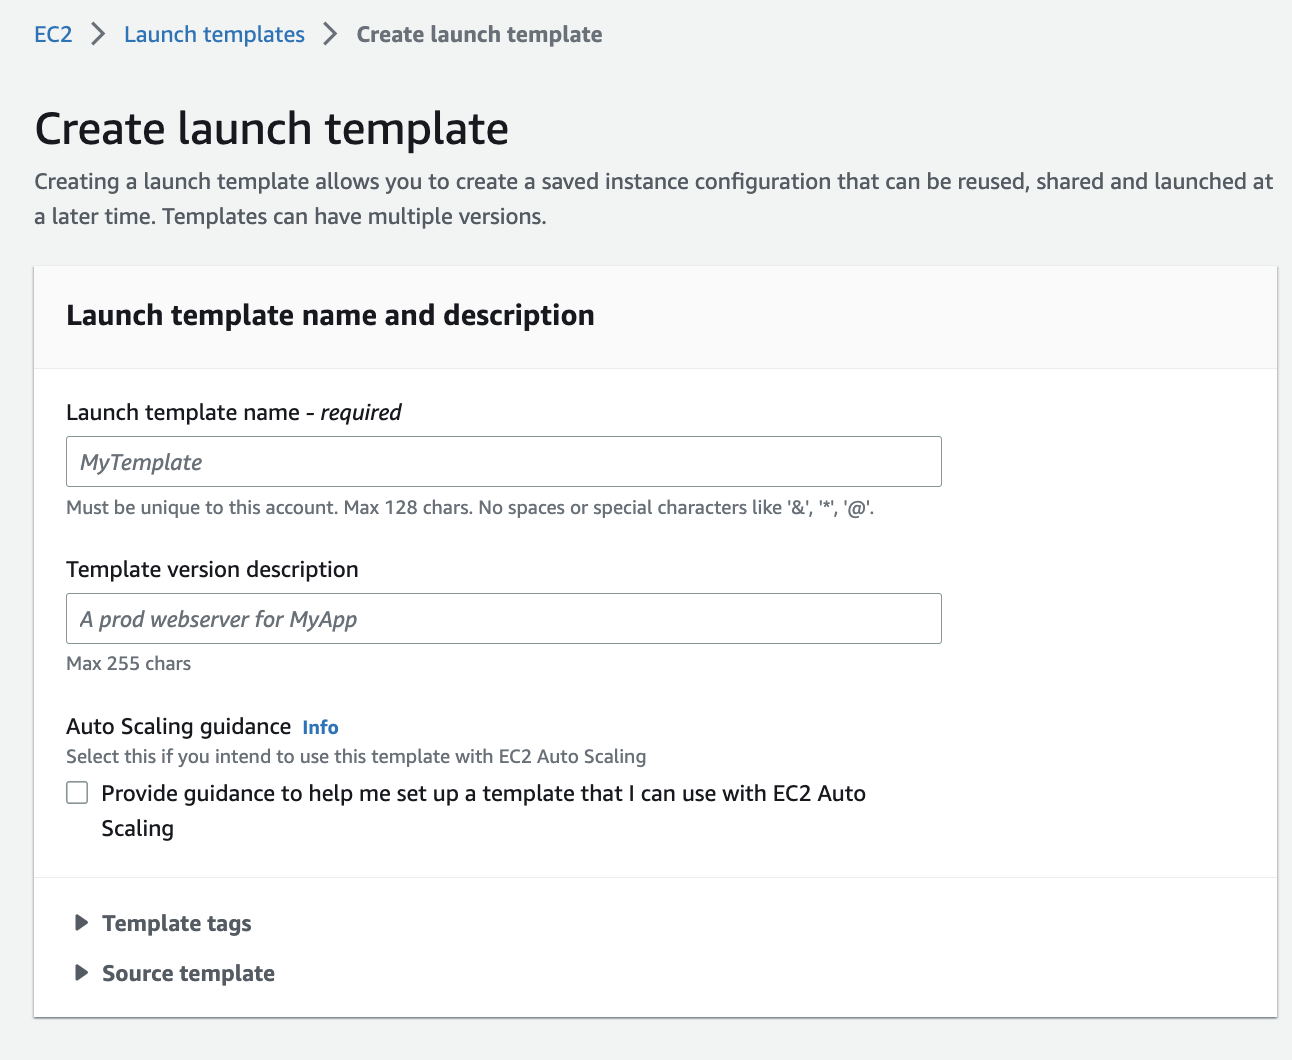
Step 2: Initial Configuration and Choose Amazon Machine Image (AMI)
After setting the Launch template name, you’ll need to choose an Amazon Machine Image (AMI). An AMI is basically just image provided by AWS that is necessary to launch an instance.
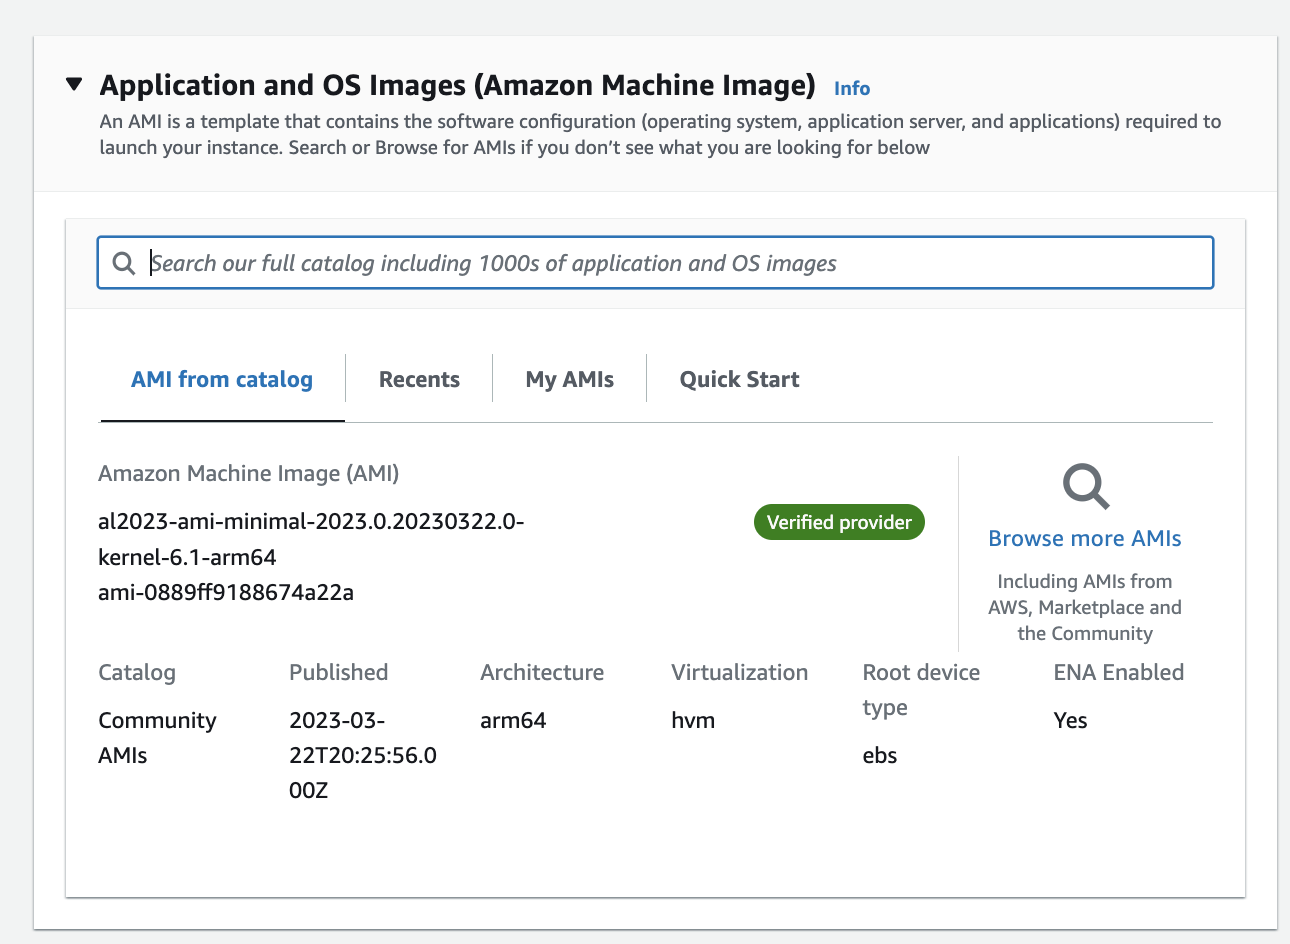
I am choosing a Community AMI, al2023-ami-minimal-2023.0.20230322.0-kernel-6.1-arm64 ami-0889ff9188674a22a, which you can find by searching in the search box, then clicking Community AMI.
What makes this AMI so special? Brace yourself for the big reveal - it’s compiled with the amazing amd64 architecture, which means we can take advantage of the more cost-effective AWS graviton instances in the next step!
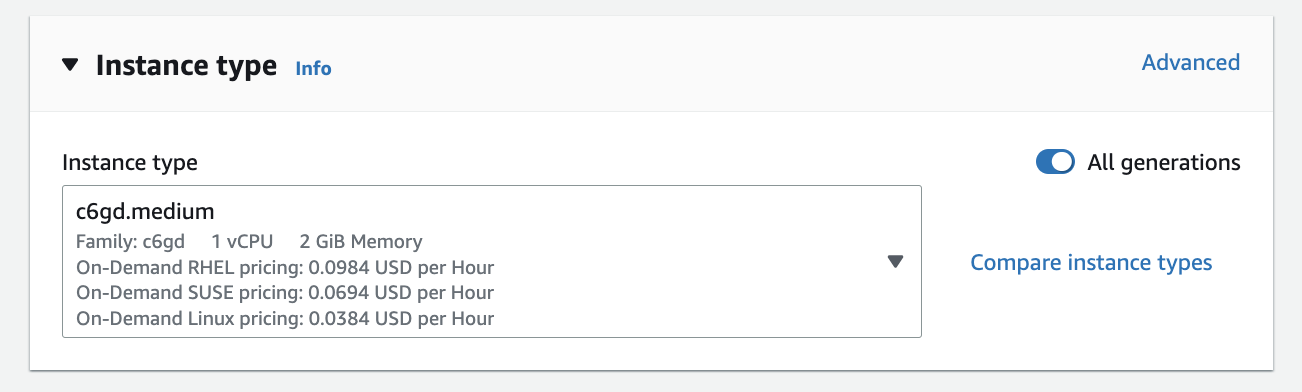
Step 3: Choose Your EC2 NVMe-Enabled Graviton Instance
In order to keep things affordable, we’ll be using a powerful graviton instance to run our chosen AMI - the c6gd.medium. With its 59GB NVMe SSD, we’re in for a wild ride of high-speed storage!
After choosing the instance type, you’ll have to handle configuring the key pair configuration in order to ssh into your instance, if you so choose.
Step 4: Add Launch Script To User Data
The moment we’ve all been waiting for - adding the instance launch script to the User Data field!
This is where the real magic happens, as the script we add here will be executed automatically when our EC2 instance launches. It’s like casting a spell that sets up our NVMe SSD automatically every time we use this launch template!
Step 4a: Script for Mounting NVMe SSD as Temporary Storage
Here is the script to mount the NVMe SSD to an arbitrarily chosen /data directory.
sudo file -s /dev/nvme1n1
sudo mkfs -t xfs /dev/nvme1n1
sudo mkdir /data
sudo mount /dev/nvme1n1 /data
Sidebar: Supercharge Your SSD Performance with Best Practices!
When it comes to SSDs, every byte and every operation counts, and we’re about to learn the secrets to unlock their full potential!
4096-byte boundary
First, always perform write operations in multiples of 4,096 bytes and align them to a 4,096-byte boundary. This ensures optimal performance and avoids unnecessary overhead.
When you fill up the volumes of your instance’s SSD-based instance store, the write performance decreases due to the additional work the SSD controller has to do for space management, such as finding available space, rewriting existing data, and erasing unused space.
This process, known as garbage collection, results in internal write amplification, which is the ratio of SSD write operations to user write operations.
The performance decrease is even more significant if the write operations are not in multiples of 4,096 bytes or not aligned to a 4,096-byte boundary.
Therefore, it is recommended to perform write operations in multiples of 4,096 bytes.
Over-provisioning
Writing a smaller amount of bytes or unaligned bytes requires the SSD controller to read surrounding data and store the result in a new location, resulting in increased write amplification, latency, and reduced I/O performance.
To mitigate the impact of write amplification, SSD controllers can use over-provisioning, which involves reserving space in the SSD instance storage for more efficient space management.
However, the SSD-based instance store volumes provided to an instance do not have any space reserved for over-provisioning. To reduce write amplification and improve performance, it is recommended to leave 10% of the volume unpartitioned so that the SSD controller can use it for over-provisioning. This may decrease the usable storage capacity, but it can increase performance even when the disk is close to full capacity.