In recent weeks, we have seen several articles on the subject of hash tables.
Finally, we are ready to see some code!
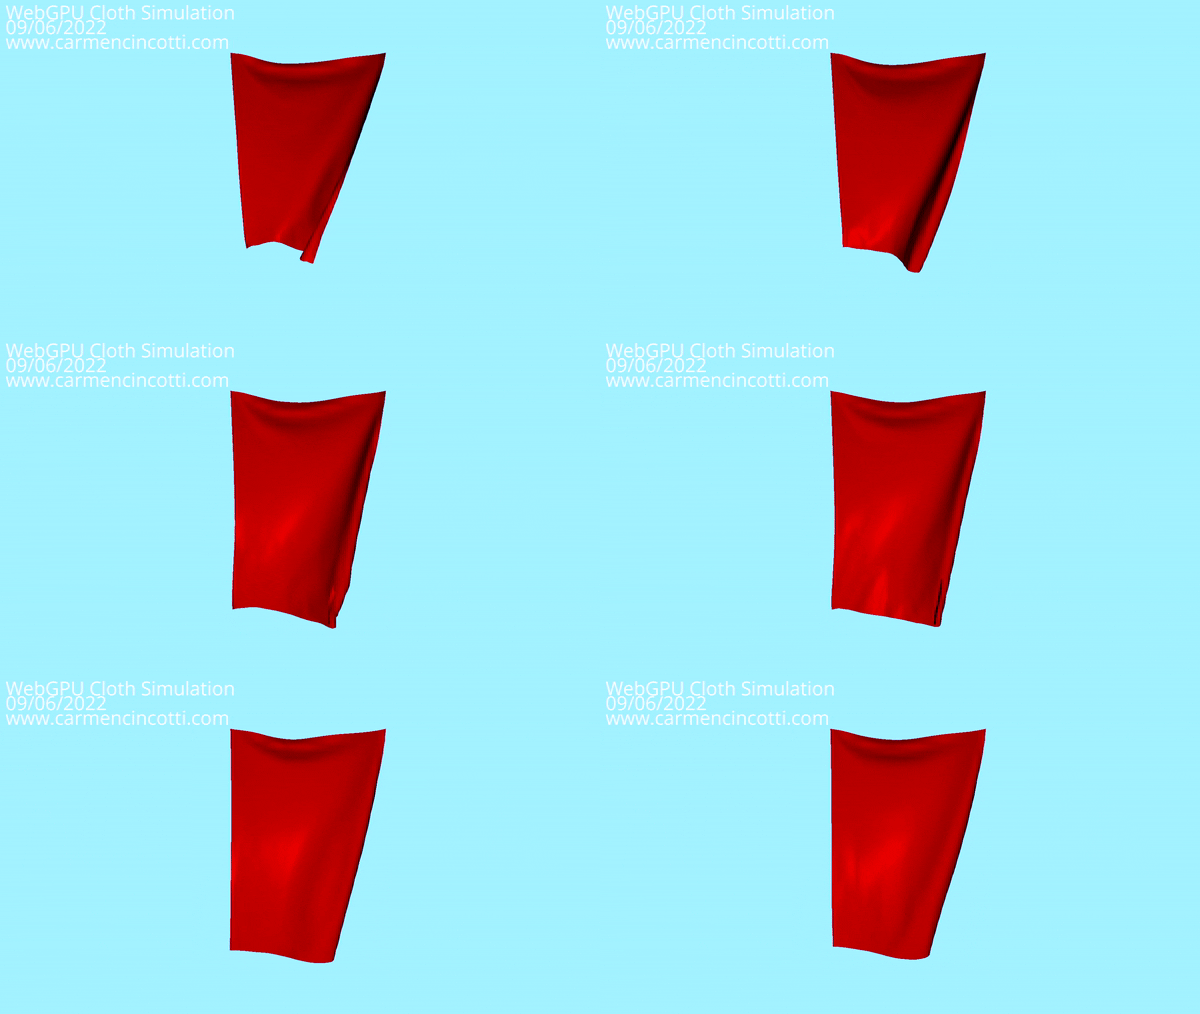
Over the course of this article, we’ll see how to code a spatial hash table in the context of our cloth simulation that we built a few months ago.
Therefore, the implementation may be different if you have a different application!
Constructing a spatial hash table
Let’s start by looking at how to build a spatial hash table. Imagine we have a Float32Array that is filled with the positions of the particles that belong to our piece of fabric.
From the last article, recall that we have a function to help us hashPos which hashes our particle positions like this:
  hashCoords(xi: number, yi: number, zi: number) {
    const h = (xi * 92837111) ^ (yi * 689287499) ^ (zi * 283923481); // fantasy function
    return Math.abs(h) % tableSize;
  }

  intCoord(coord: number) {
    return Math.floor(coord / spacing);
  }

  hashPos(pos: Float32Array, nr: number) {
    return this.hashCoords(
      intCoord(pos[3 * nr]),
      intCoord(pos[3 * nr + 1]),
      intCoord(pos[3 * nr + 2])
    );
  }
I leave you this link to see how these functions ( hashPos, intCoord, and hashCoords) work!
Querying a spatial hash table
Next, we need to query the table. During the simulation, we can just call queryAll during an animation frame, which is responsible for calling query for every particle in the piece of cloth.
During the simulation, we can access the particles that are adjacent to one another by using its id. We do this by querying firstAdjId through this useful function, getAdjacentParticles:
getAdjacentParticles(id: number) {
    const start = this.firstAdjId[id];
    const end = this.firstAdjId[id + 1];

    return this.adjIds.slice(start, end);
}
The entire code of the spatial hash table
Here is the whole code. I’m using a JavaScript class that I named Hash that contains all the functionality of the spatial hash table:
The entire code in an XPBD simulation with WebGPU
Finally, to see this code in a cloth simulation, I invite you to see my cloth simulation with WebGPU!

